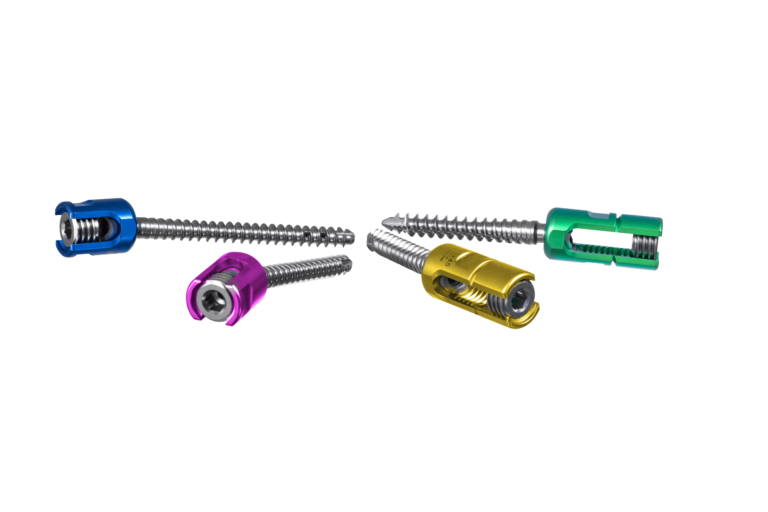
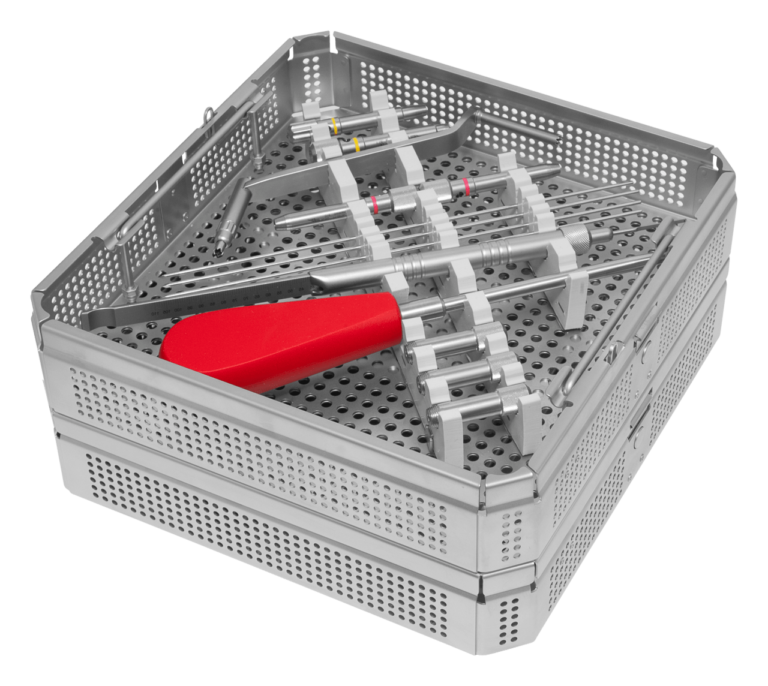
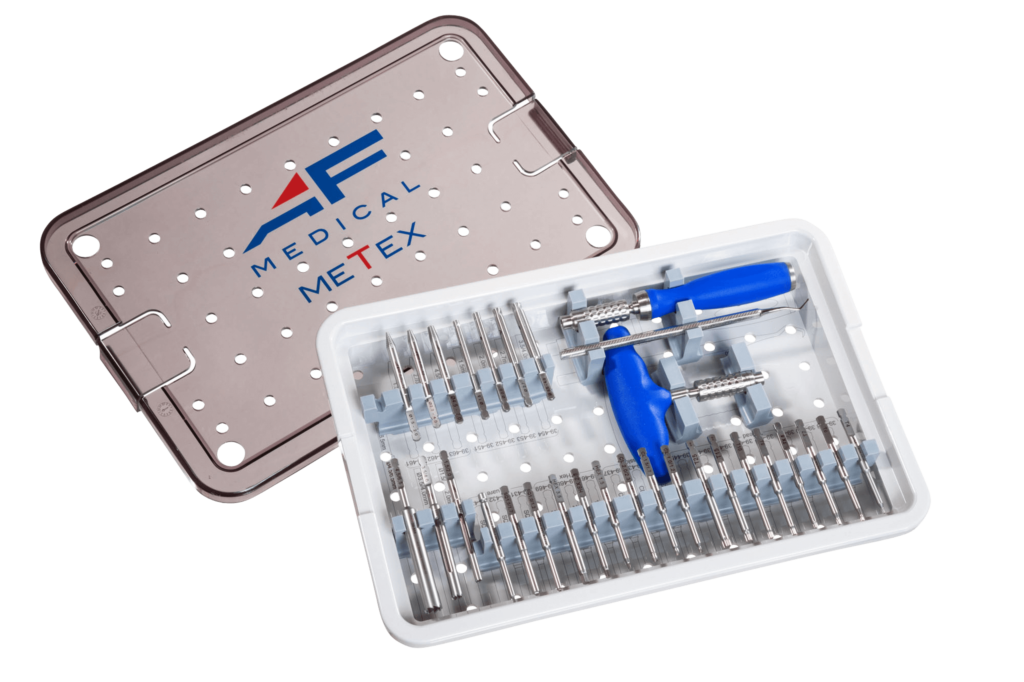
Choosing the right Surgical Instruments is a clinical and operational decision, not a simple purchasing task. A scalpel, forceps, or retractor must support precise movements under demanding conditions. Its design can influence visibility, tissue handling, fatigue, and procedural confidence. Small details matter. A balanced handle may reduce wrist strain during a long operation. A smooth ratchet can help maintain controlled pressure without sudden movement.
Reliable selection begins with the intended procedure, patient needs, and user experience. Surgeons, nurses, and sterile processing professionals should assess instruments together. Their practical observations often reveal problems that catalog descriptions miss. Check the instrument’s material, surface finish, jaw alignment, locking action, and compatibility with approved sterilization methods. Manufacturer instructions should guide cleaning, inspection, maintenance, and reuse decisions. Traceability and documented quality controls also strengthen confidence in the supplier.
No checklist is perfect. A familiar instrument may still be unsuitable for a specific technique. A lower price may hide higher maintenance demands. Even experienced teams can overlook grip comfort or visibility in real operating conditions. Trial evaluation, feedback from actual users, and regular inspection can expose these weaknesses before they affect care. The best choice balances clinical performance, durability, safety, ergonomics, and responsible procurement. It also leaves room for review, because surgical practice changes and instrument performance can decline over time.
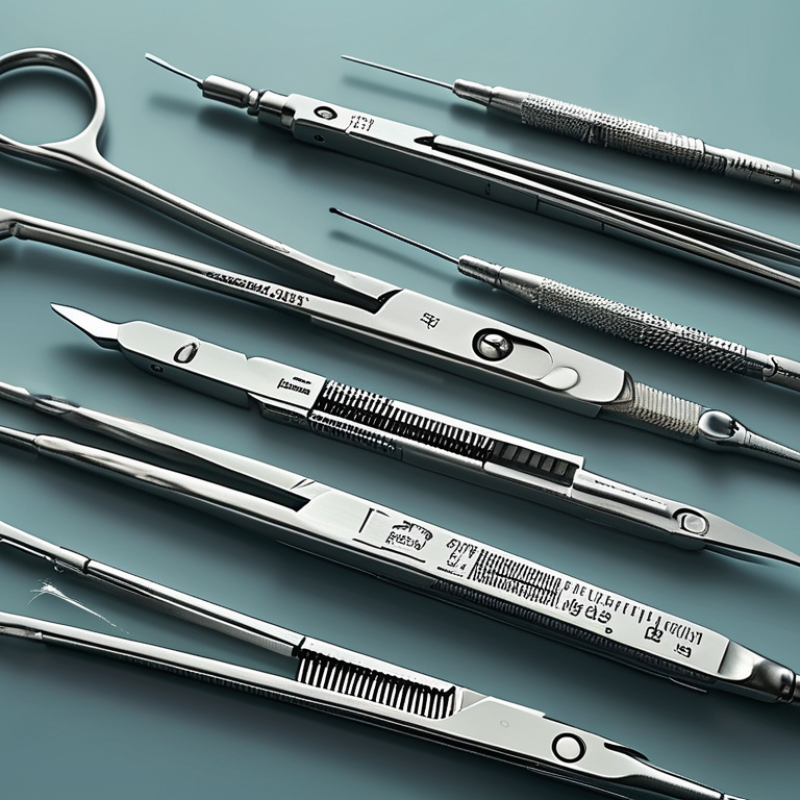
Choosing surgical instruments begins with defining the procedure, not browsing a catalogue. Map each operative step: exposure, dissection, grasping, retraction, hemostasis, closure, and specimen handling. Then specify the tissue type, access angle, working length, tip design, jaw pressure, and required visibility. A delicate vascular procedure may need fine, atraumatic forceps, while orthopedic work demands stronger instruments and controlled torque. Small differences matter.
Patient safety also depends on the complete instrument system. Confirm compatibility with the surgical approach, electrosurgical equipment, imaging environment, and sterilization process. AAMI ST79 emphasizes validated cleaning, inspection, packaging, and sterilization practices for reusable instruments. WHO reports that surgical-site infections affect about 11% of patients in low- and middle-income countries, making reliable reprocessing a clinical priority. Check box locks, ratchets, insulation, cutting edges, and lumens under bright light. Damaged surfaces can hide soil.
A tray can still be overfilled.
Clinical teams should compare the planned technique with real operating-room feedback. Ask whether an instrument improves control or merely adds weight. Review missing items, unused items, tissue trauma, and delays after each procedure. This reflection is imperfect, but useful. The WHO Surgical Safety Checklist study reported major complication reductions after checklist adoption, although instrument selection requires more than a checklist. Document the rationale, involve surgeons and sterile-processing specialists, and revise the set when technique, patient anatomy, or equipment changes.
| Surgical Procedure | Primary Tissue or Target | Typical Instrument Categories | Key Design Requirements | Recommended Size or Configuration | Material and Finish Considerations | Cleaning and Sterilization Notes |
|---|---|---|---|---|---|---|
| General Soft-Tissue Surgery | Skin, fascia, muscle, and connective tissue | Scalpels, tissue forceps, hemostatic clamps, scissors, needle holders, retractors | Precise cutting, secure tissue handling, reliable hemostasis, and atraumatic retraction | Standard hand instruments; choose delicate or robust patterns according to tissue thickness and access depth | Corrosion-resistant surgical stainless steel; smooth, passivated surfaces; matte finish can reduce glare | Use validated cleaning and steam-sterilization cycles compatible with the instrument’s instructions for use |
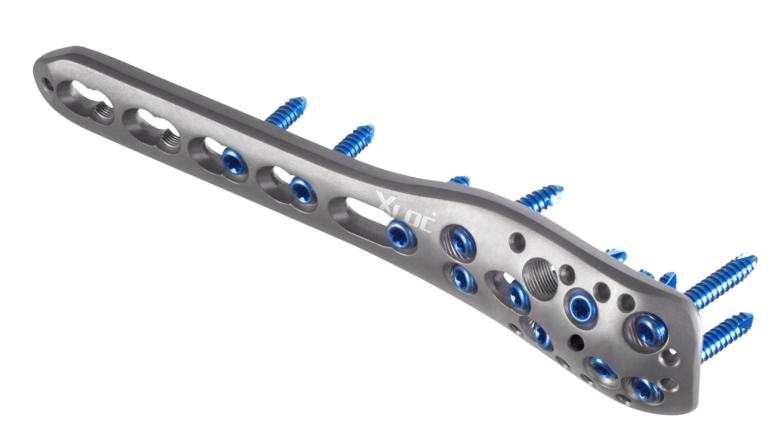
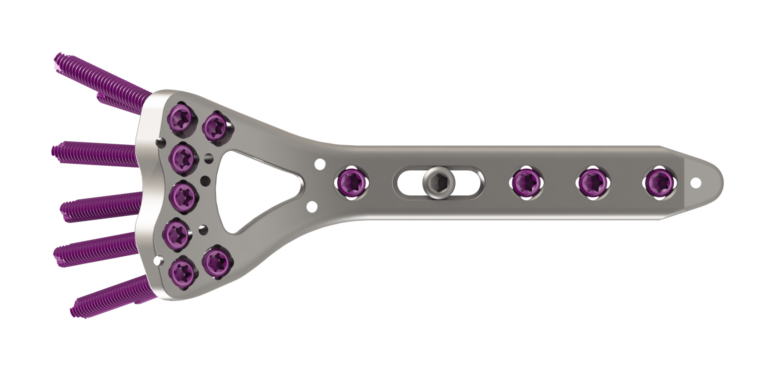
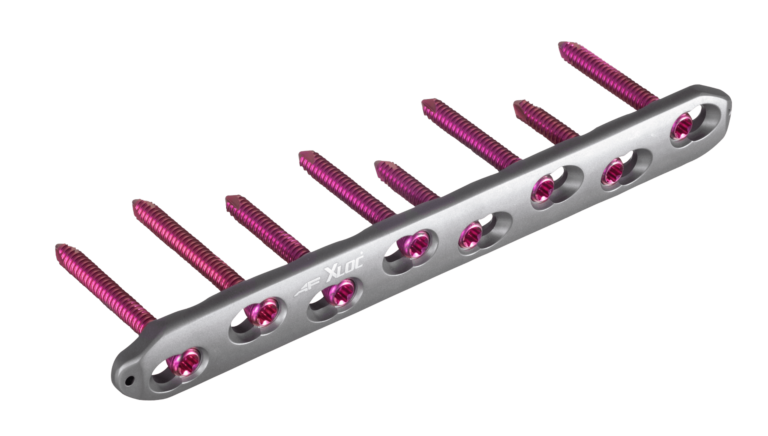
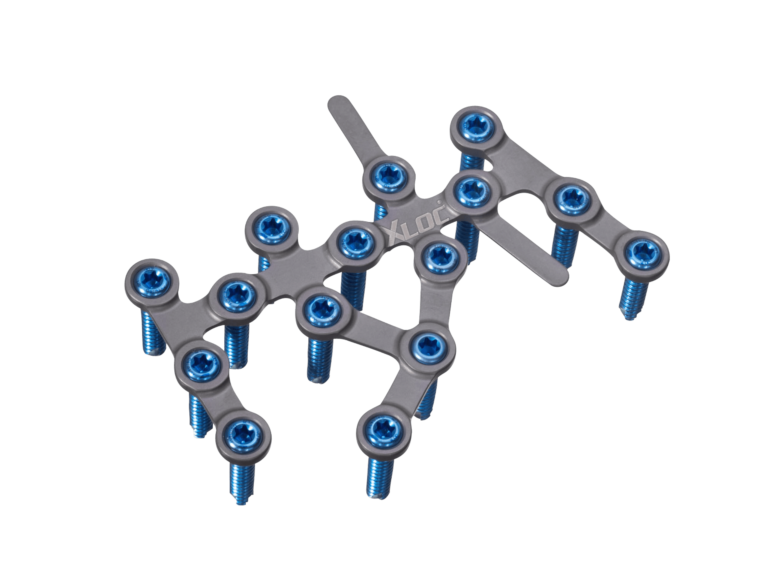
| Orthopedic Surgery | Bone, cartilage, tendons, ligaments, and joints | Bone cutters, rongeurs, osteotomes, curettes, elevators, reduction forceps, depth gauges | High mechanical strength, controlled force transmission, impact resistance, and secure grip | Heavy-duty patterns for dense bone; angled and low-profile options for restricted joint access | Hardened stainless steel or other approved surgical alloys; inspect cutting edges and jaws for deformation | Remove bone debris promptly; lubricate hinged joints with a sterilization-compatible instrument lubricant |
| Laparoscopic Surgery | Abdominal or pelvic organs accessed through small ports | Laparoscopic graspers, dissectors, scissors, needle holders, suction-irrigation devices, trocars | Long-shaft reach, precise jaw control, ergonomic actuation, insulation for energy instruments, and visual compatibility | Common shaft lengths are approximately 30–45 cm; select diameter to match the port system, often 3–12 mm | Medical-grade stainless steel; inspect insulation, seals, jaw alignment, and optical surfaces before use | Disassemble removable parts and flush internal channels immediately; follow validated reprocessing instructions |
| Ophthalmic Surgery | Eye tissues and microsurgical structures | Micro-scissors, fine forceps, cannulas, speculums, keratomes, micro-needle holders | Very fine tips, minimal tissue trauma, stable handling, low actuation force, and excellent visual control | Micro-instruments with tip dimensions selected for the intended structure and incision size | High-quality corrosion-resistant steel or titanium; tips must remain aligned and free from burrs | Use delicate handling, magnified inspection, protective trays, and low-residue cleaning agents approved for microsurgical instruments |
| Neurosurgery | Brain, spinal cord, nerves, and cranial structures | Microsurgical forceps, bipolar forceps, dissectors, suction tubes, retractors, cranial drills | Fine tip control, minimal tissue trauma, stable balance, controlled suction, and compatibility with magnification | Long, slender, bayonet-style or low-profile designs for deep and narrow surgical fields | Nonmagnetic or low-magnetic materials may be required in specific imaging environments; verify electrical insulation on bipolar devices | Protect delicate tips during transport and sterilization; inspect suction channels and insulation for blockage or damage |
| Cardiovascular Surgery | Heart, blood vessels, and vascular grafts | Atraumatic vascular clamps, vessel dilators, fine forceps, vascular scissors, needle holders, cannulas | Controlled occlusion, atraumatic jaws, precise suturing, low tissue compression, and dependable leak prevention | Jaw pattern and length must match vessel diameter, access depth, and required clamp angle | Smooth, polished working surfaces; inspect serrations and jaw alignment to prevent vessel injury | Thoroughly rinse blood residues; avoid abrasive cleaning that could damage atraumatic jaw surfaces |
| Dental and Oral Surgery | Teeth, gingiva, alveolar bone, and oral soft tissue | Extraction forceps, elevators, curettes, scalers, tissue forceps, needle holders, cheek retractors | Secure tooth engagement, controlled leverage, access in a confined field, and protection of adjacent tissue | Select working ends according to tooth anatomy, root shape, surgical site, and patient access limitations | Corrosion-resistant steel with smooth surfaces and accurately formed working ends | Remove organic debris before sterilization; inspect serrations, hinges, and tips for retained material |
| Plastic and Reconstructive Surgery | Skin, subcutaneous tissue, flaps, grafts, and facial structures | Fine scissors, skin hooks, delicate forceps, retractors, dermal knives, micro-needle holders | Atraumatic tissue handling, accurate trimming, fine suturing, and strong visibility of wound edges | Fine or micro patterns for facial and flap work; larger retractors for deep reconstructive fields | Sharp, well-aligned cutting edges and smooth, non-crushing tissue-contact surfaces | Use tip protectors and dedicated trays for delicate instruments; verify sharpness and alignment after reprocessing |