10 Tips for Sourcing Cannulated Screws
Fracture fixation begins long before a screw reaches the operating room. A supplier’s material certificate, thread geometry, guide-wire fit, and packaging all affect whether a Cannulated Screws program is dependable. The need is substantial: the Global Burden of Disease 2019 study estimated 178 million new fractures worldwide in 2019, highlighting the scale of fracture care (GBD 2019 Fracture Collaborators, The Lancet Healthy Longevity, 2021). That figure describes fractures, not screw demand. The distinction matters.
For sourcing teams, a low unit price is only one detail. Compare alloy and coating specifications, dimensional tolerances, sterilization documentation, traceability, and consistency between samples and production lots. Ask for evidence, not assurances. FDA’s guidance on orthopedic non-spinal bone-fixation screws and washers also provides a useful reference for performance and testing considerations. It does not replace device-specific review or clinical judgment.
AO fracture-management literature associated with orthopaedic surgeon Thomas P. Rüedi emphasizes stable fixation and respect for biology. However, I could not verify a direct, attributable quotation from Rüedi specifically about cannulated screws, so I will not invent one. That gap is worth acknowledging. This guide turns the sourcing decision into practical checks: how to assess suppliers, verify technical documents, and spot trade-offs before they become costly surprises. A polished sample can still hide variation in a production batch. Careful qualification takes time, and even a strong checklist cannot remove every risk.
Map the Indication, Anatomy, and Guidewire Fit Before Requesting Quotes
Before requesting quotes, define the indication and the anatomy. A screw for a small-fragment fracture may need different diameter, length, and purchase than one used for a larger cancellous fragment. Map the entry point, trajectory, bone quality, and nearby structures from the available imaging. The 2019 Global Burden of Disease study estimated 178 million new fractures worldwide; that broad figure underscores fracture care’s scale, but it cannot determine an individual implant choice. Fit the plan to the case.
Tip 1: Send vendors the intended indication, screw diameter and length range, head style, and required compression. Include relevant anatomical constraints, not just a product category. Tip 2: State the guidewire diameter and length, then confirm compatibility with the cannulation and associated instruments. A mismatch can disrupt workflow. Small detail. Check the complete system.
Request technical drawings or specifications before comparing prices. Confirm that the wire passes freely, the screw advances as intended, and the chosen length suits the measured path. A quote sheet can still omit a critical compatibility detail. Review it against the planned procedure, and document any uncertainty rather than assuming standard dimensions. The published fracture estimate offers context, not a substitute for case-specific assessment.
10 Tips for Sourcing Cannulated Screws — Map the Indication, Anatomy, and Guidewire Fit Before Requesting Quotes
How to use this chart: The bars count the sourcing prompts listed in each category; they are not clinical outcome data. Confirm screw and guidewire compatibility against the selected system’s specifications and instructions for use.
- State the indication and intended fixation construct.
- Describe the required screw function and planned fixation role.
- Clarify the number and placement of screws required.
- Identify the target bone and anatomical region.
- Provide relevant bone dimensions and the available corridor.
- Specify the planned entry point, trajectory, and imaging needs.
- Request the required screw diameter, length, and thread configuration.
- Confirm guidewire diameter and compatibility with the screw system.
- List required instruments and accessories for insertion.
- Specify quantity, packaging or sterility needs, and delivery requirements.
Specify Screw Diameter, Length, Thread, and Cannulation from Drawings
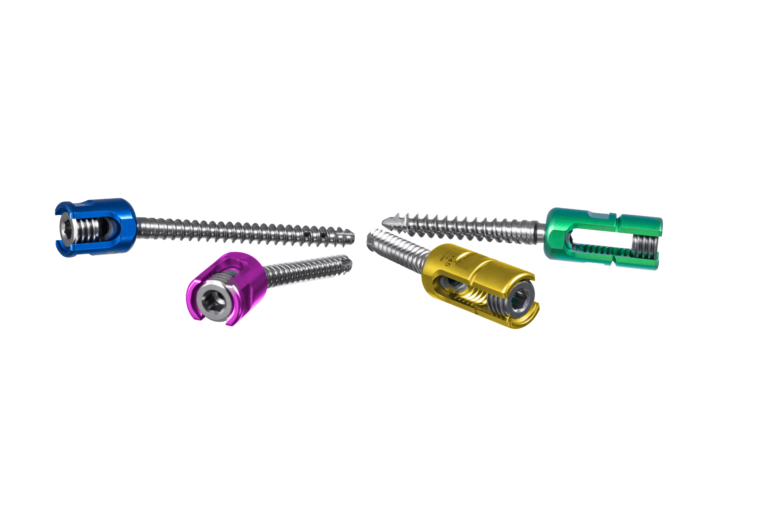
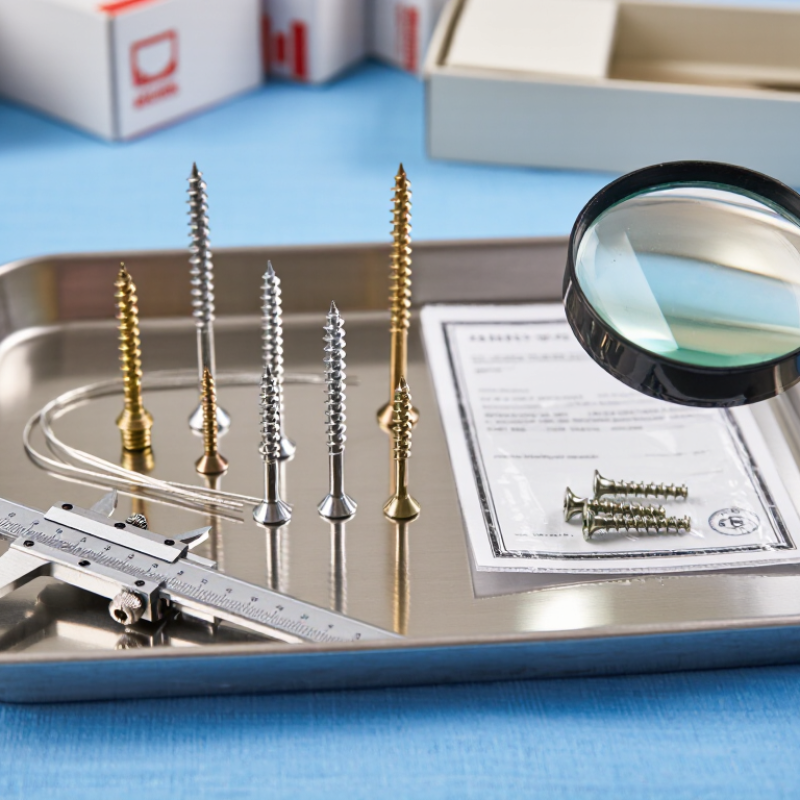
A cannulated screw drawing should make four dimensions unmistakable: outer diameter, overall length, thread details, and cannula bore. Define how length is measured, such as from the head underside to the tip. Specify thread pitch, thread length, and tip geometry; “standard thread” is not a useful purchasing requirement. Show the cannula’s internal diameter and the compatible guidewire range, including tolerances. Small details matter.
A recurring weak spot is the assumption that every supplier interprets “length” or “threaded portion” identically. Add a clear datum, units, and a controlled drawing revision. Note material, surface finish, and inspection requirements, and ask suppliers to confirm these against the same revision. ASTM F543 provides specifications and test methods for metallic medical bone screws, offering a relevant reference for mechanical evaluation. It does not replace device-specific drawing requirements.
The International Osteoporosis Foundation’s 2021 report estimated 37 million fragility fractures worldwide each year among adults aged 55 and older. That scale makes reliable fixation components important, but a market statistic cannot determine a screw’s dimensions. Compare the drawing with the intended guidewire and bone fixation needs, then review sample measurements before approving production. I would still flag any unclear measurement rather than assume the supplier will resolve it correctly.
Verify Titanium Alloy Records Against ASTM F136 or ISO 5832-3
When sourcing cannulated screws, verify the titanium alloy records before comparing price or delivery time. ASTM F136 covers wrought Ti-6Al-4V ELI alloy for surgical implants; ISO 5832-3 specifies requirements for wrought titanium-6-aluminium-4-vanadium alloy. Do not assume that a certificate mentioning “medical grade titanium” proves compliance with either standard. Check the exact standard and edition listed, the material designation, and the heat or lot number.
Match those records to the screws being offered. A mill test report should identify the material batch and provide relevant chemical and mechanical test results. The supplier’s traceability documents should connect that batch to the finished screw lot. Look for gaps between document numbers, product descriptions, and manufacturing records. Small mismatches matter. Paperwork can look tidy and still leave a gap.
Ask whether the alloy was supplied in the required condition and whether machining or later processing is covered by the supplier’s quality records. For cannulated screws, confirm that the documented material applies to the actual product, not just a similar rod or bar. A material certificate does not, by itself, establish finished-device performance or suitability for a particular procedure. If a record is unclear, request a corrected document or an explanation tied to the lot. It may feel cautious, but assumptions are harder to repair after acceptance.
Compare Mechanical Performance Using ASTM F543’s 4 Test Methods
For cannulated screws, ASTM F543 provides four useful mechanical comparisons: torsional properties, driving torque, pullout strength, and self-tapping performance. Each test answers a different sourcing question. Torsion testing examines how much torque a screw withstands before yielding or breaking. Driving-torque testing records the force needed during insertion. Pullout testing measures resistance to axial removal from a specified test material. Self-tapping testing evaluates the torque required for the screw to form its own thread.
Keep comparisons controlled. Match screw diameter, length, thread design, material, and cannulation where possible. Use consistent test blocks, insertion depth, speed, and alignment; even a slight angle can affect results. Record mean values and variation, not just the highest reading. Useful detail matters. For example, note whether a guide wire remained in place during insertion, since it may change the available channel and handling conditions. ASTM results support like-for-like screening, but they do not establish clinical performance. One caveat: a neat test setup is not the operating room. Ask suppliers for the applicable method, specimen details, and complete reports, then consider whether the chosen test conditions reflect your intended use. No single number tells the whole story.
Check Sterile Barrier Packaging Against ISO 11607-1 and ISO 11607-2
When sourcing cannulated screws, review the sterile barrier packaging as carefully as the implant specifications. ISO 11607-1 addresses materials and sterile barrier systems for terminally sterilized medical devices. ISO 11607-2 covers validation of forming, sealing, and assembly processes. Ask for current, relevant validation records, not just a certificate. Small details matter. A screw’s threads or sharp tip can damage a pouch or tray if the device moves during transport. Check that the package holds each screw securely and that seals appear even, continuous, and free from wrinkles or channels.
Request evidence that packaging performance has been assessed after handling and distribution simulation, where applicable. Confirm that inspection criteria and records are traceable to production lots. Packaging should protect the sterile barrier until use; it does not make a nonsterile product sterile. Review labeling and instructions alongside the packaging configuration, and clarify how changes to materials or sealing equipment are controlled. A clean sample is reassuring, but it proves little about routine production. I would still ask how process drift is detected. No supplier can remove every risk, so document unresolved questions and agree on acceptance criteria before purchase.